


The constant replaying like old recorder really GOT ME! I have to make do with the little time I have after work to make this ring.

Images are taken at 12am this morning... I try my best to show you different angles of my ring...
 It is consistent both front and back and it sets the drilled stone perfectly! The best of all it took me just an hour to make this ring. Entirely made using the same weaving technique as my latest Tutorial "Chain-Link Bezel Cabochon".
 If you are interested to custom made a ring similar to this, please email me at sales@jennypong.com


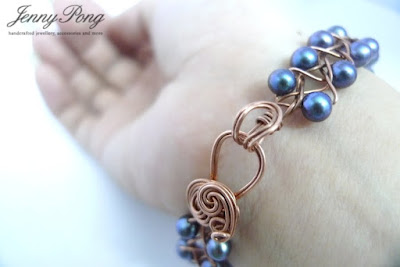
 Want to learn how to make these swirls, please check out my tutorial on Smokey Topaz Swirls Pendant.


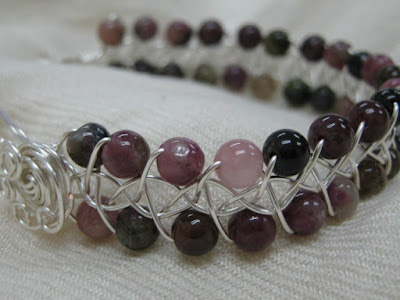
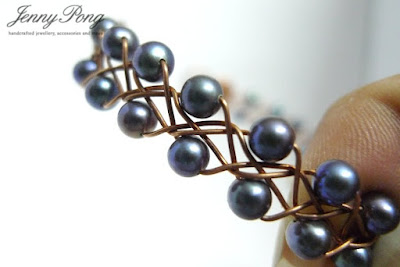
 Do check my tutorials, if you are interested to make your own braided bracelet.
 .jpg)
.jpg)
.jpg)
.jpg)


.jpg)
.jpg)
.jpg)


.JPG)
